Fishing Basics – Loop Tying – Preston Loop Tyer
I’ve recently encountered some trouble with my Seymo Loop Tyer, and although the knots have never failed me, they seem to be getting bigger than I require. So I decided to give the Preston Innovations Loop Tyer a whirl. It was a bit of a school boy error, but I managed to pick on up without instructions! So I had to spend a little while working out how to use this little fella, but once I did I was very pleased with the consistent and small loops I was creating. This little tool will be in my tackle box from now on.
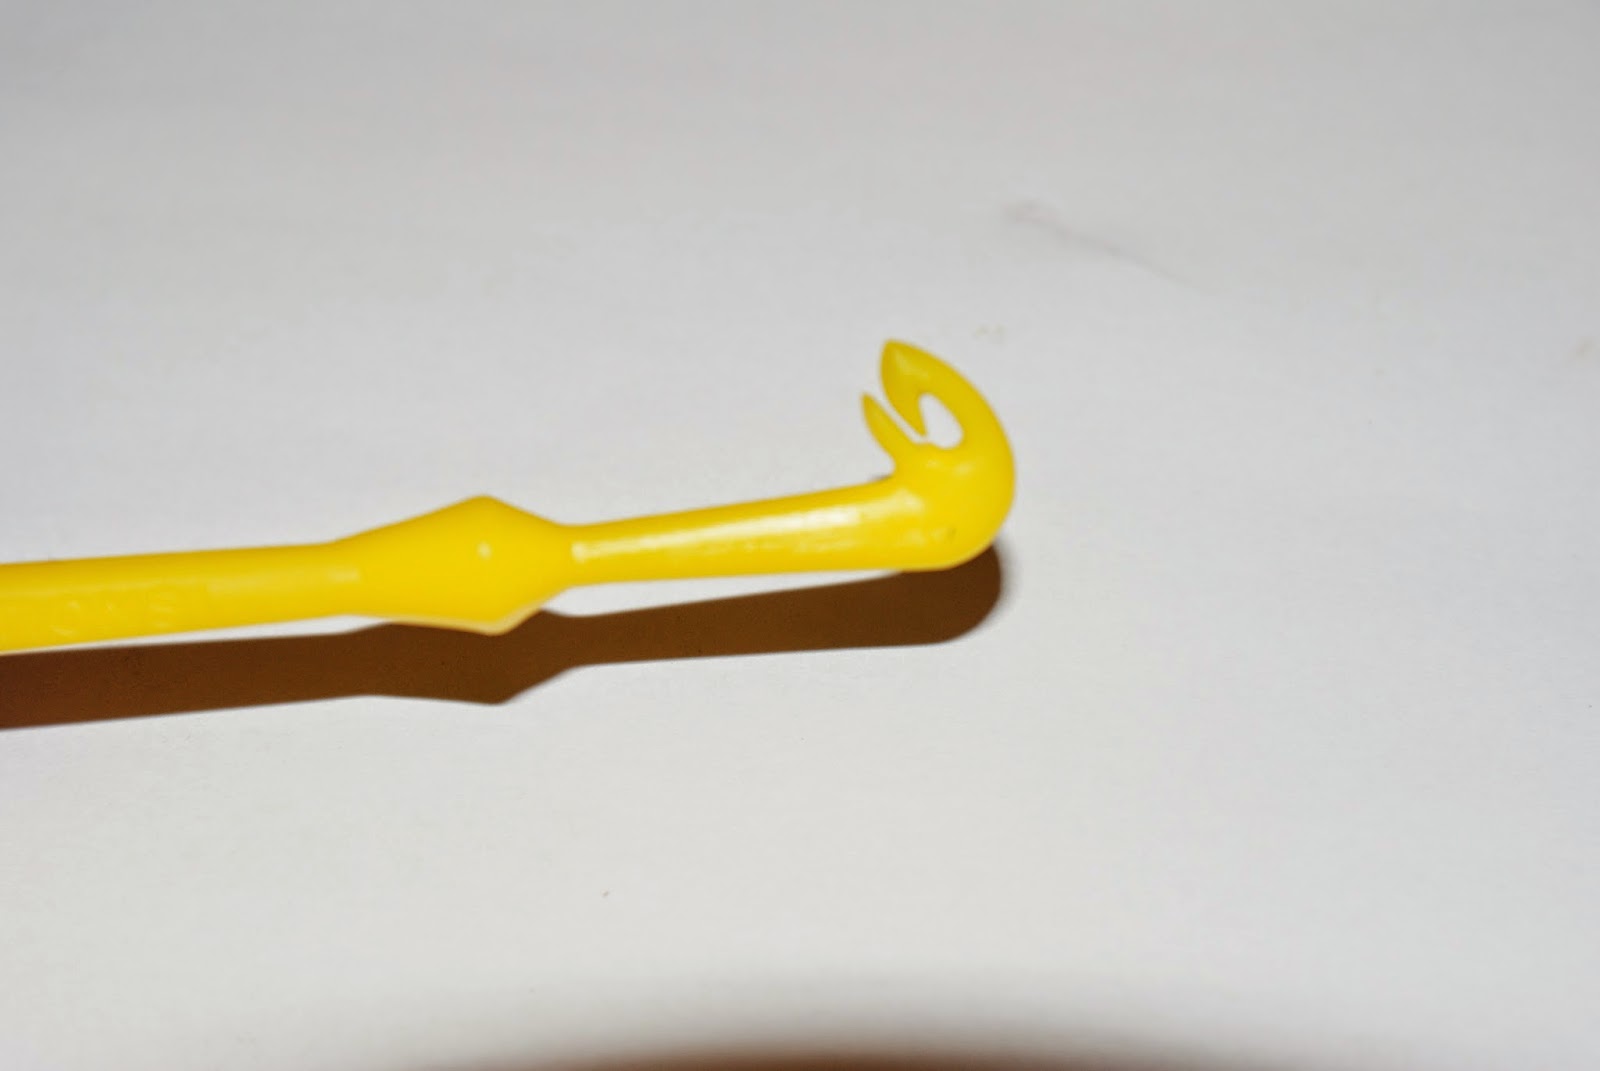
If you have one, but are not sure how to use it, here’s how.
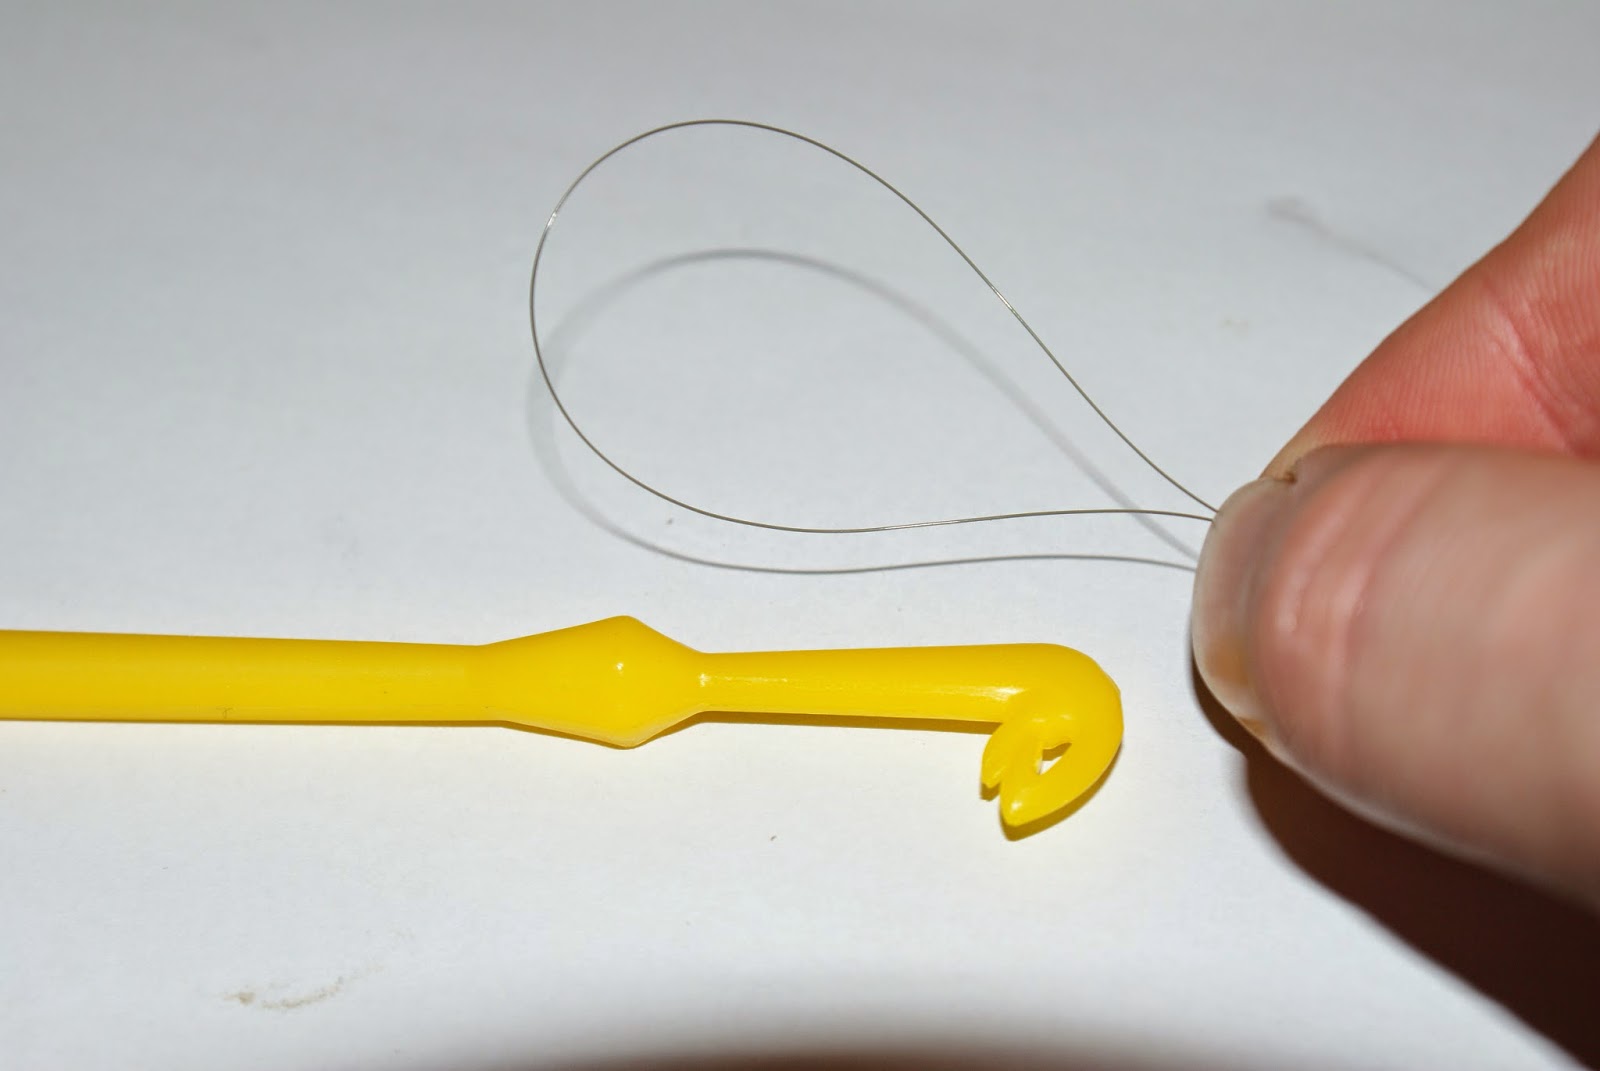 Bring the tag end around and form a loop
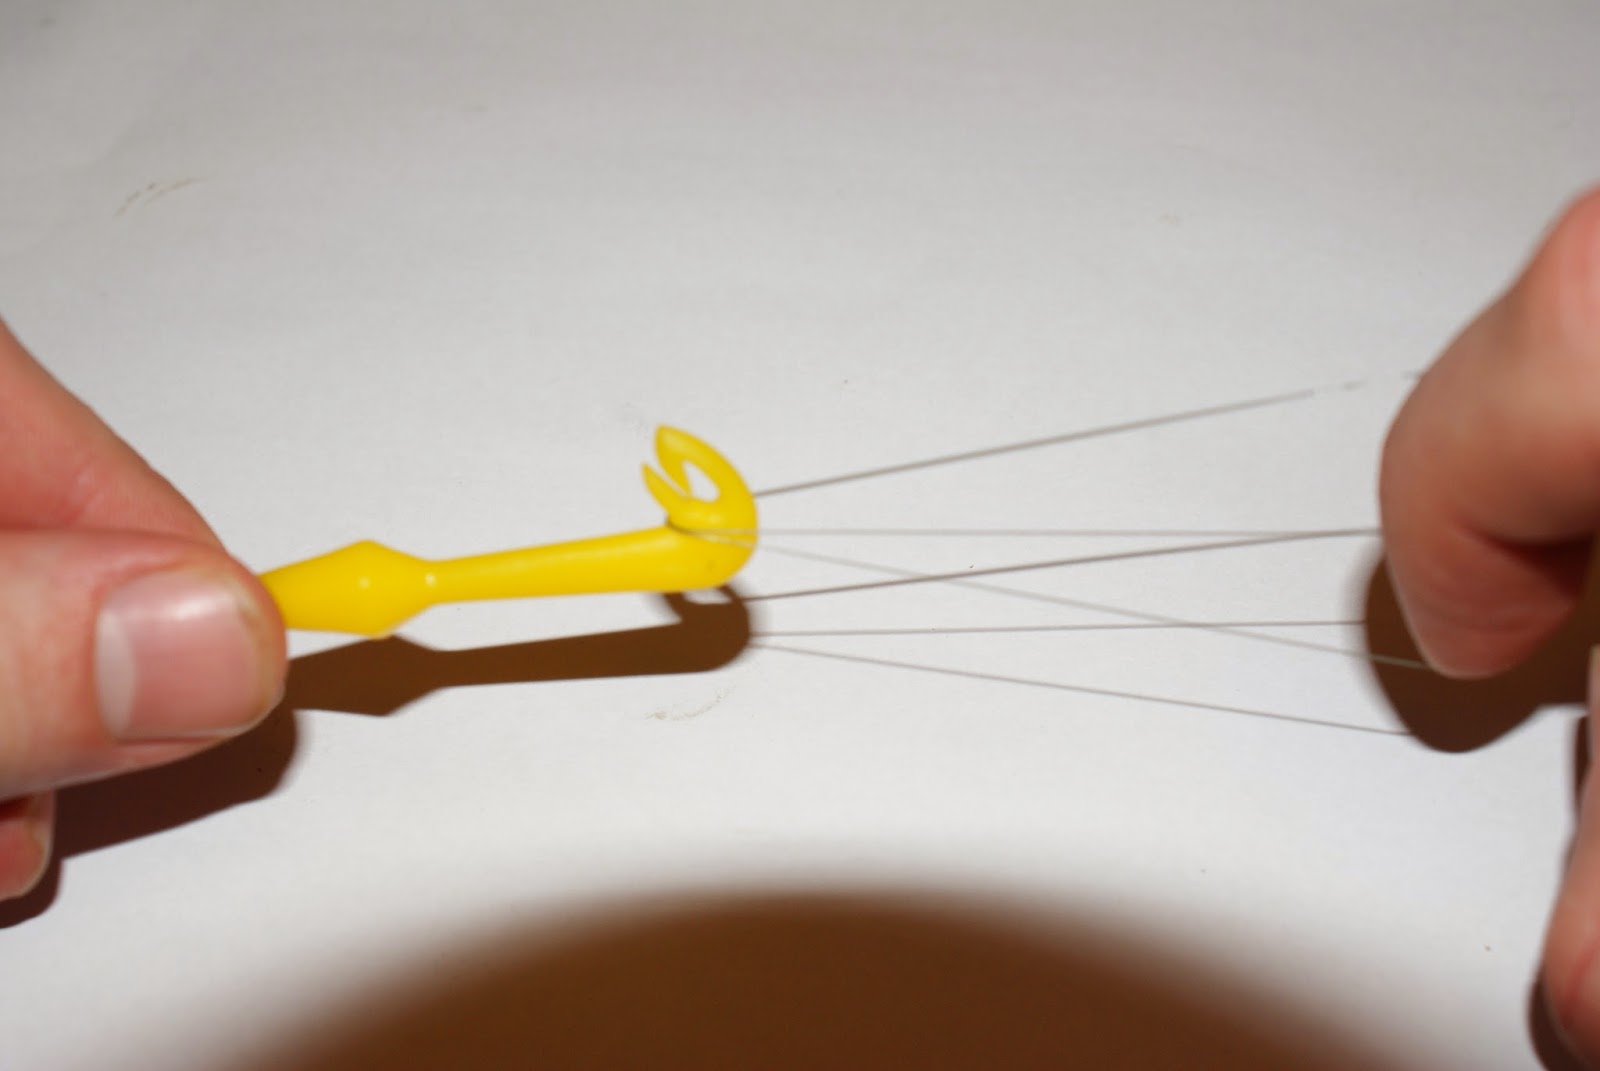
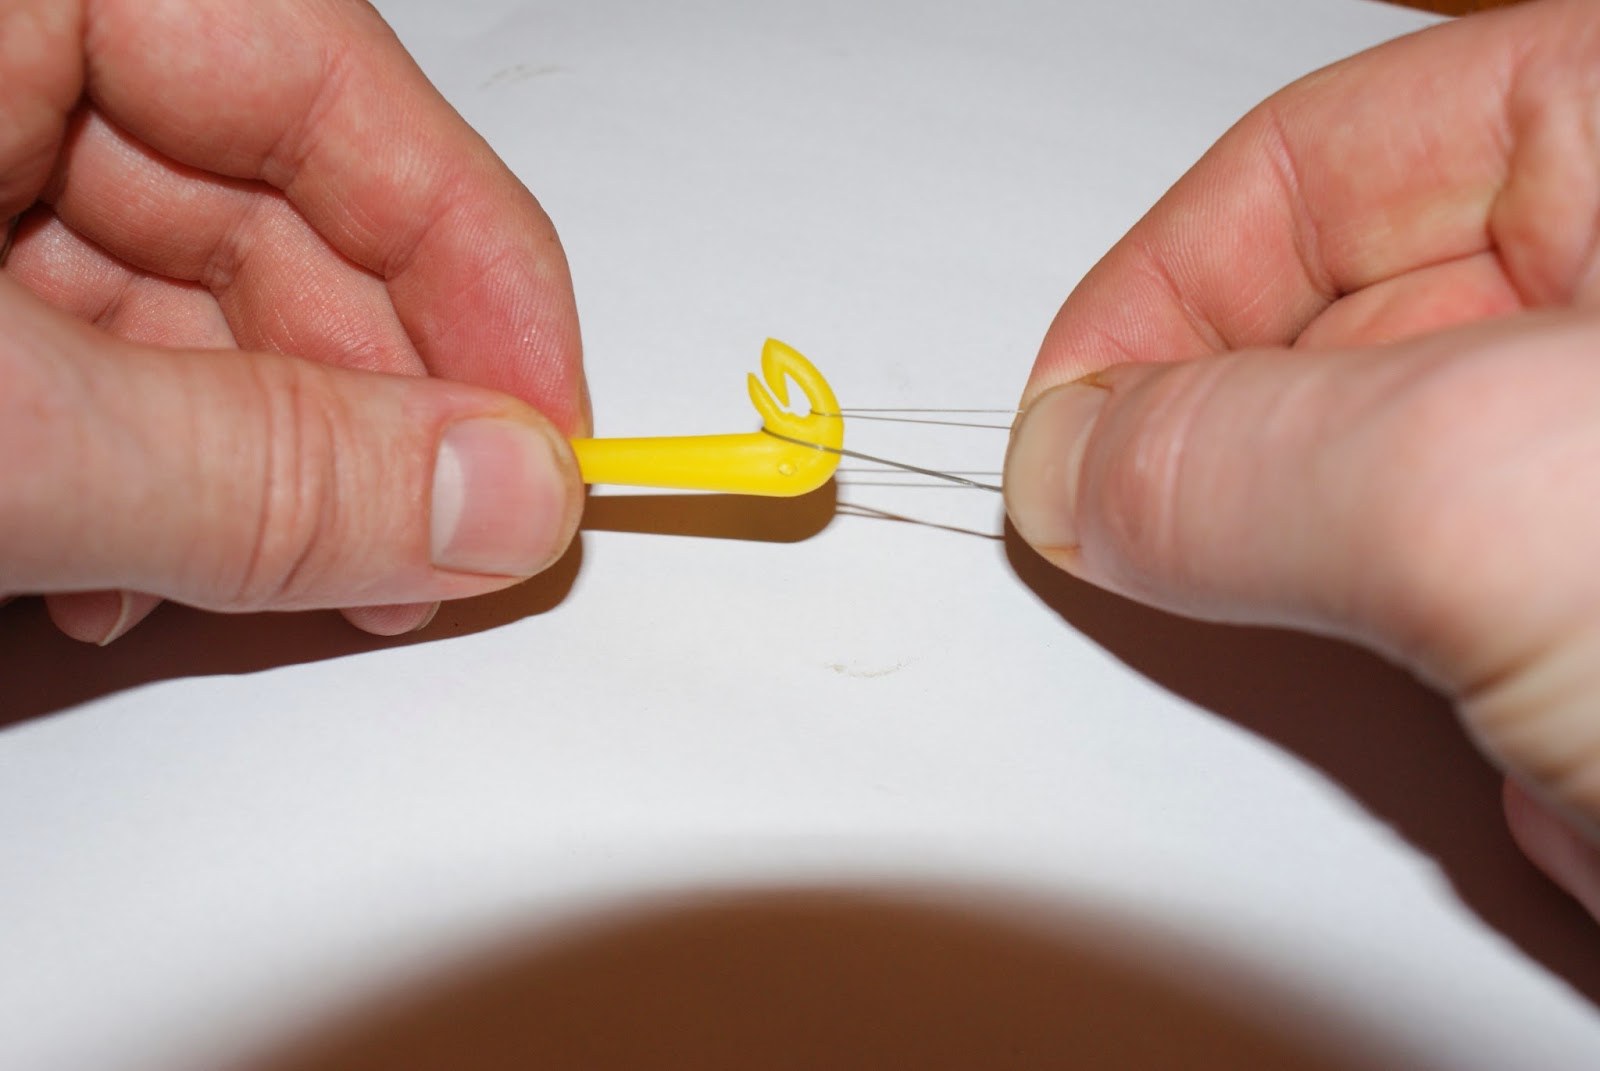
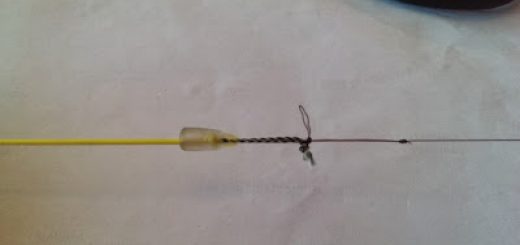
Holding the loop tyer in one hand and your line in the other, user the hook tyer to create a V shape, with the loop one side and the tag end and mainline on the other.
Twist the loop around the mainline and tag once or twice (anymore will cause unnecessary friction and compromise the strength of the knot.
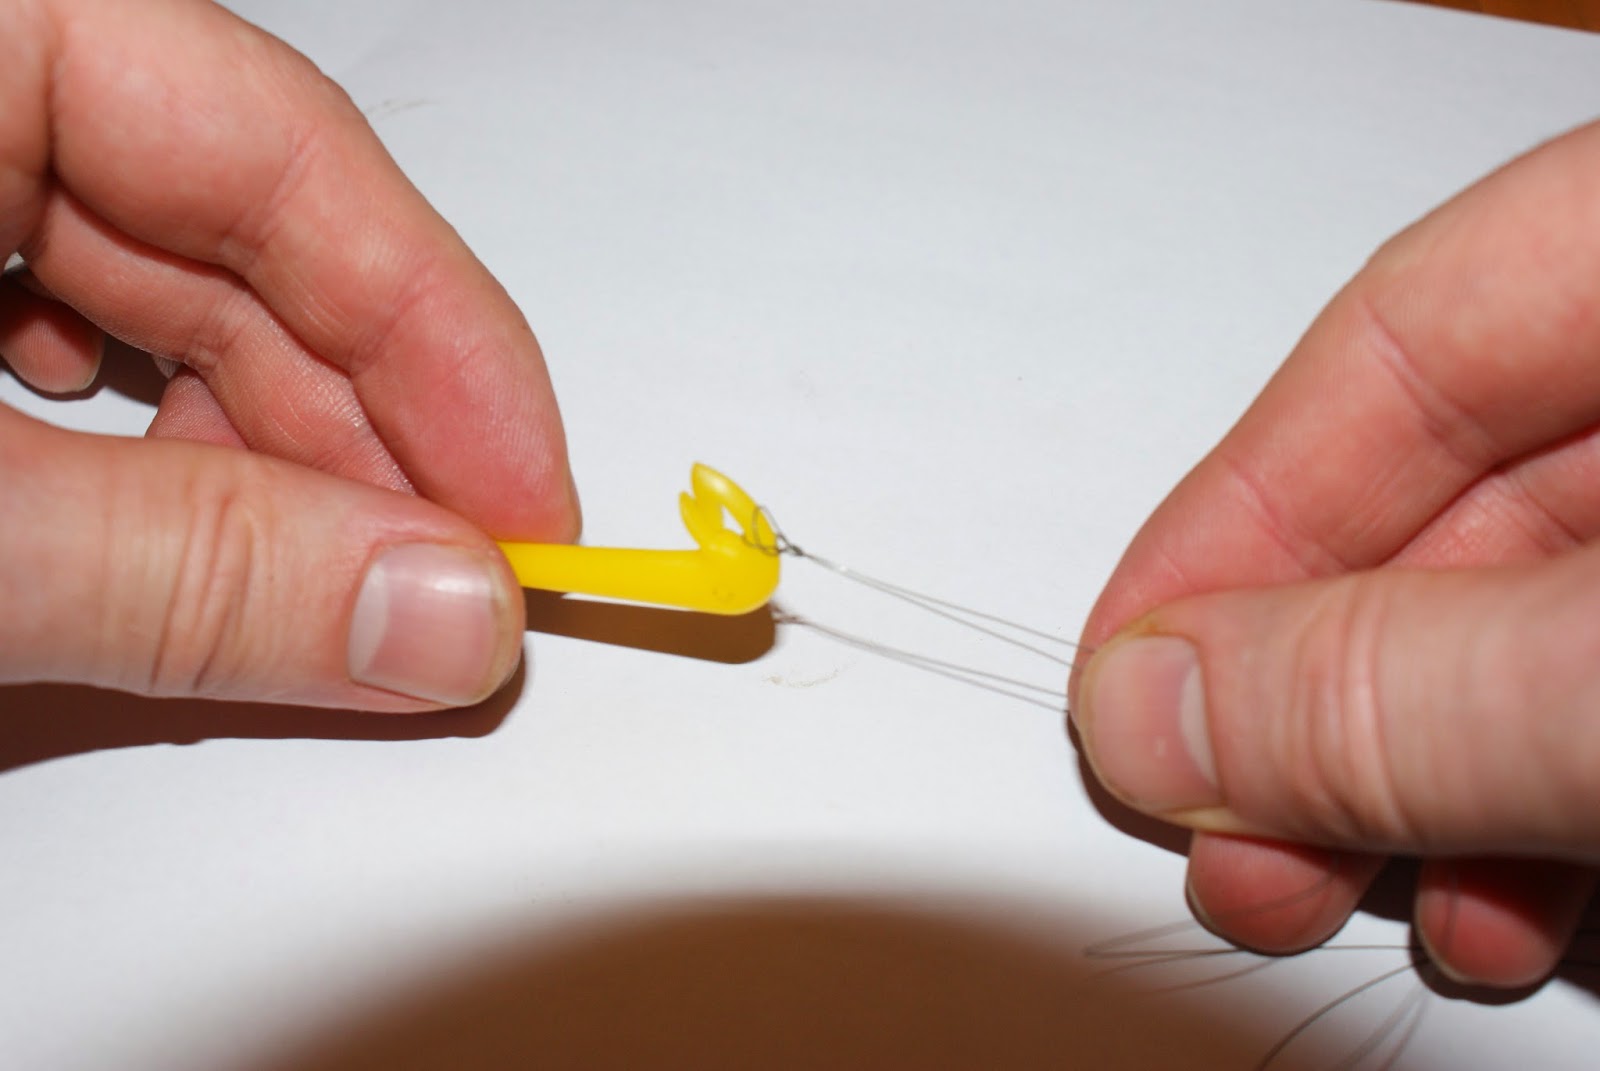
Once twisted pass the loop through the small gap at the top of the loop tyer.
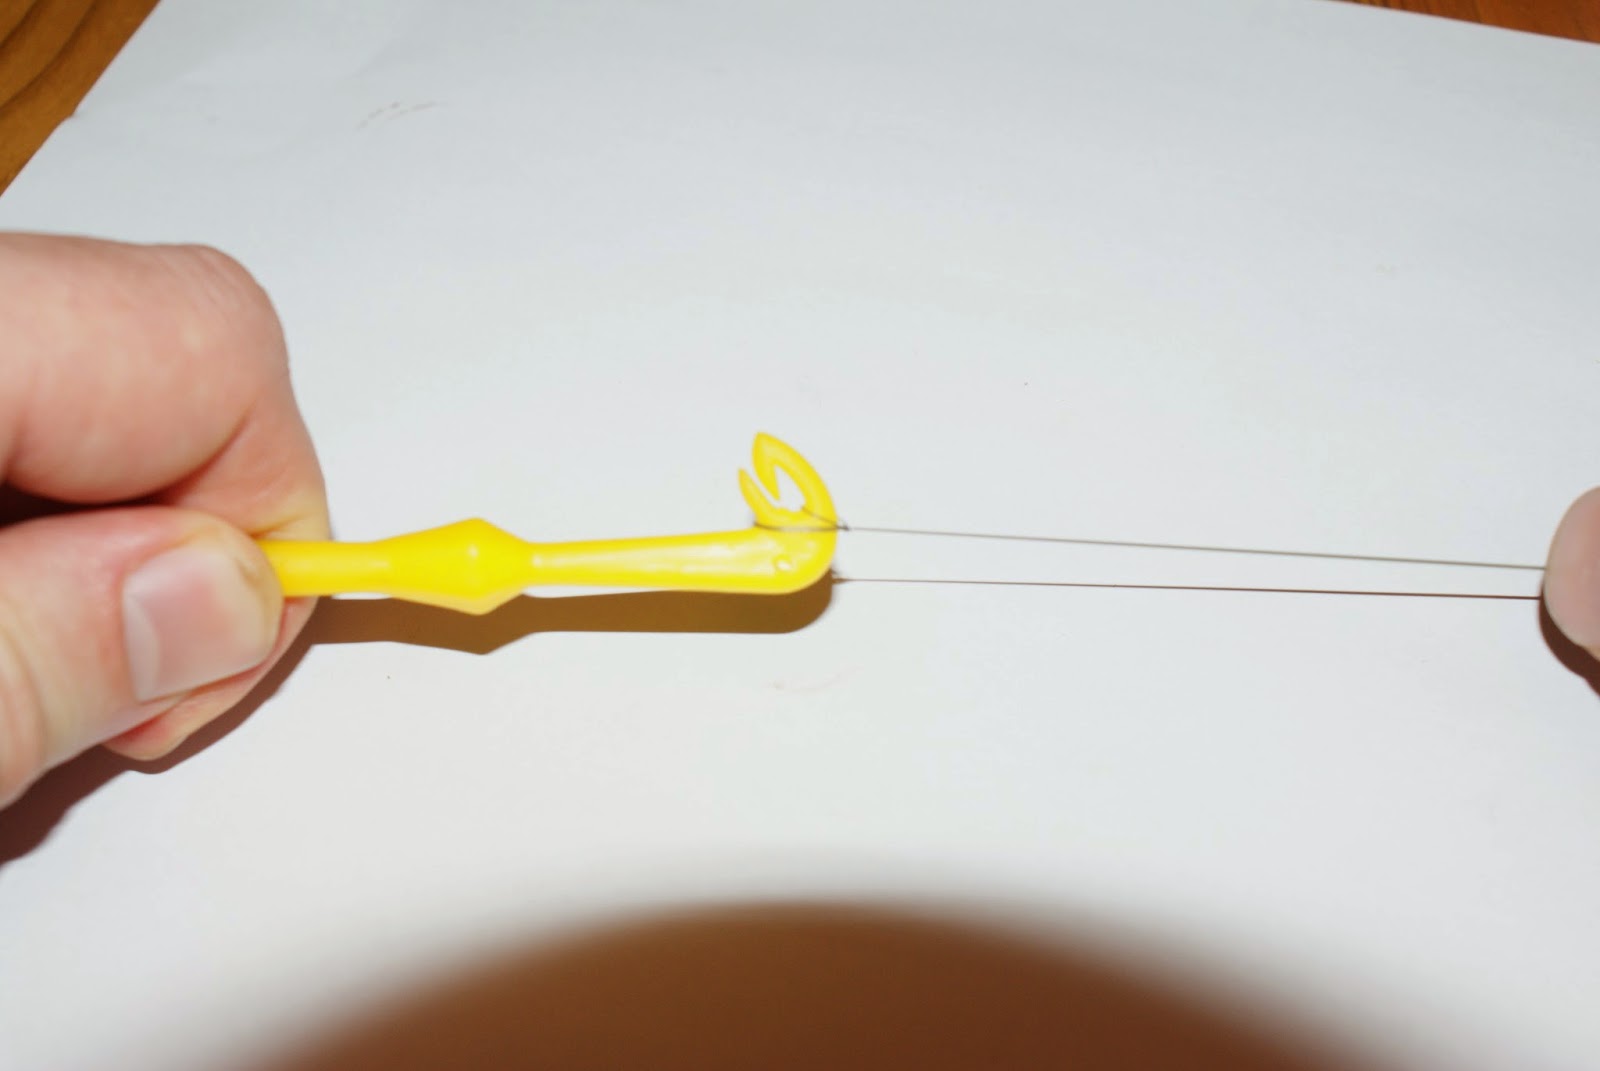
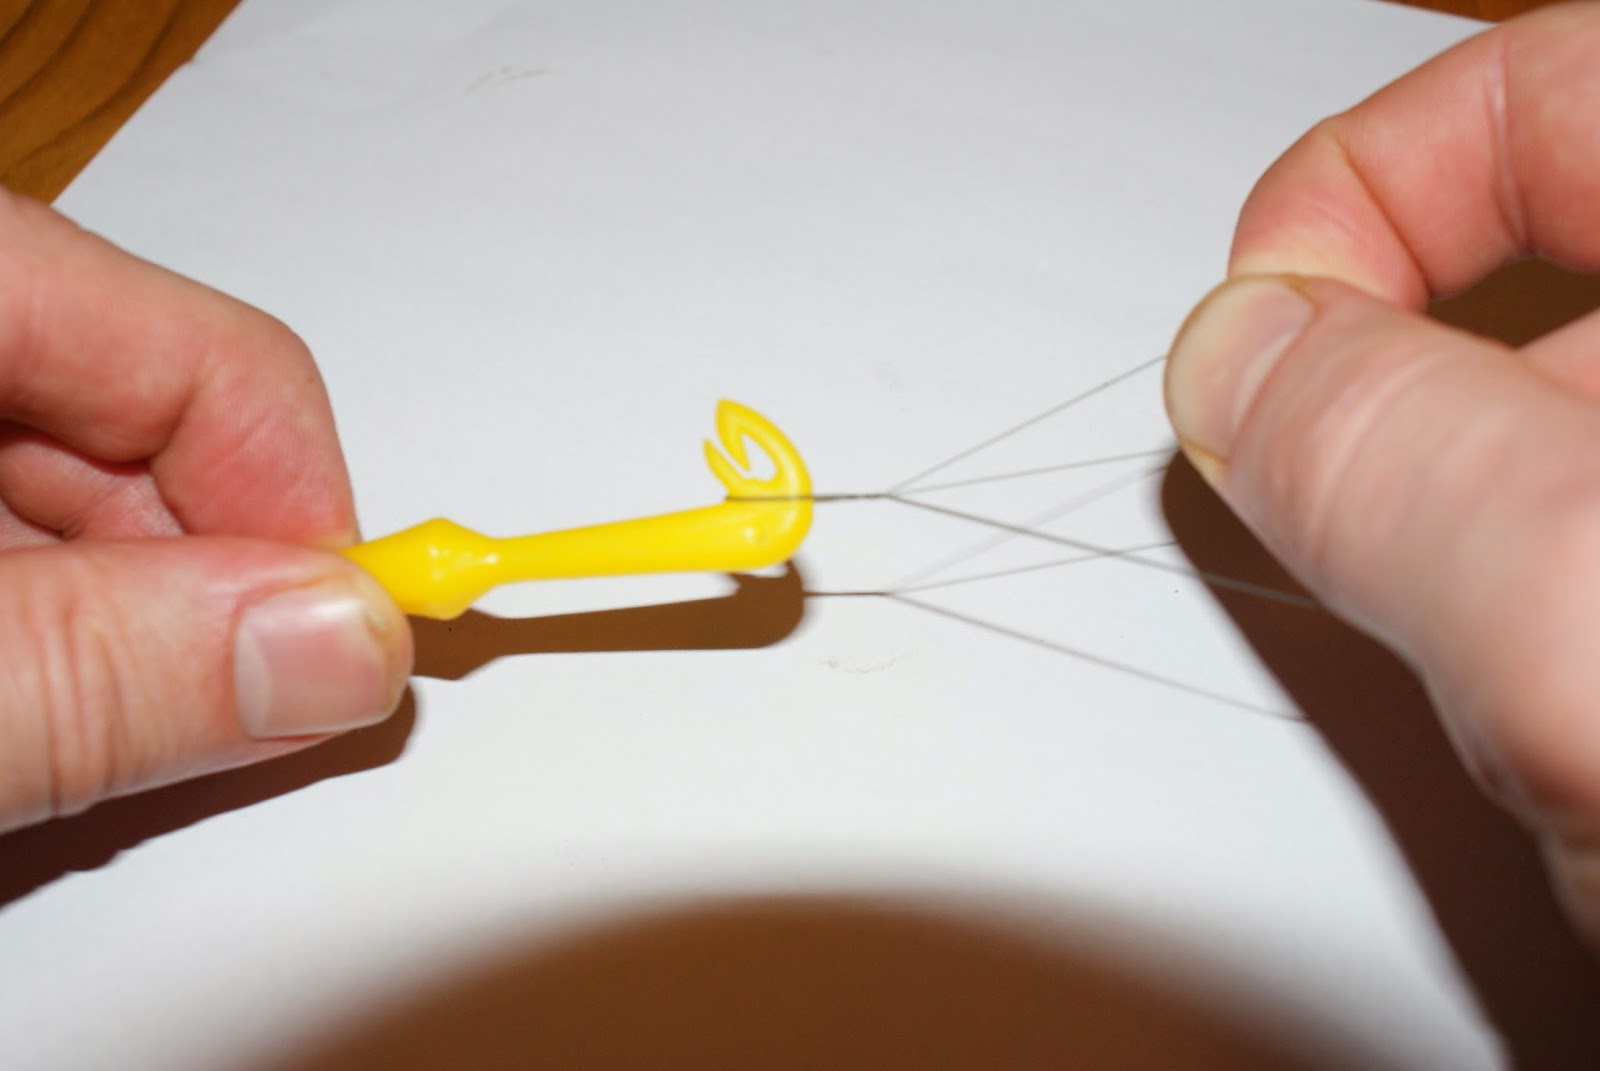
Lubricate, and slowly pull tight on the mainline/tag end. This will tighten the start of the knot down on to the plastic.
Pull the line that was initially held in the neck of the loop tyer around the bend and towards the knot, pulling the mainline.
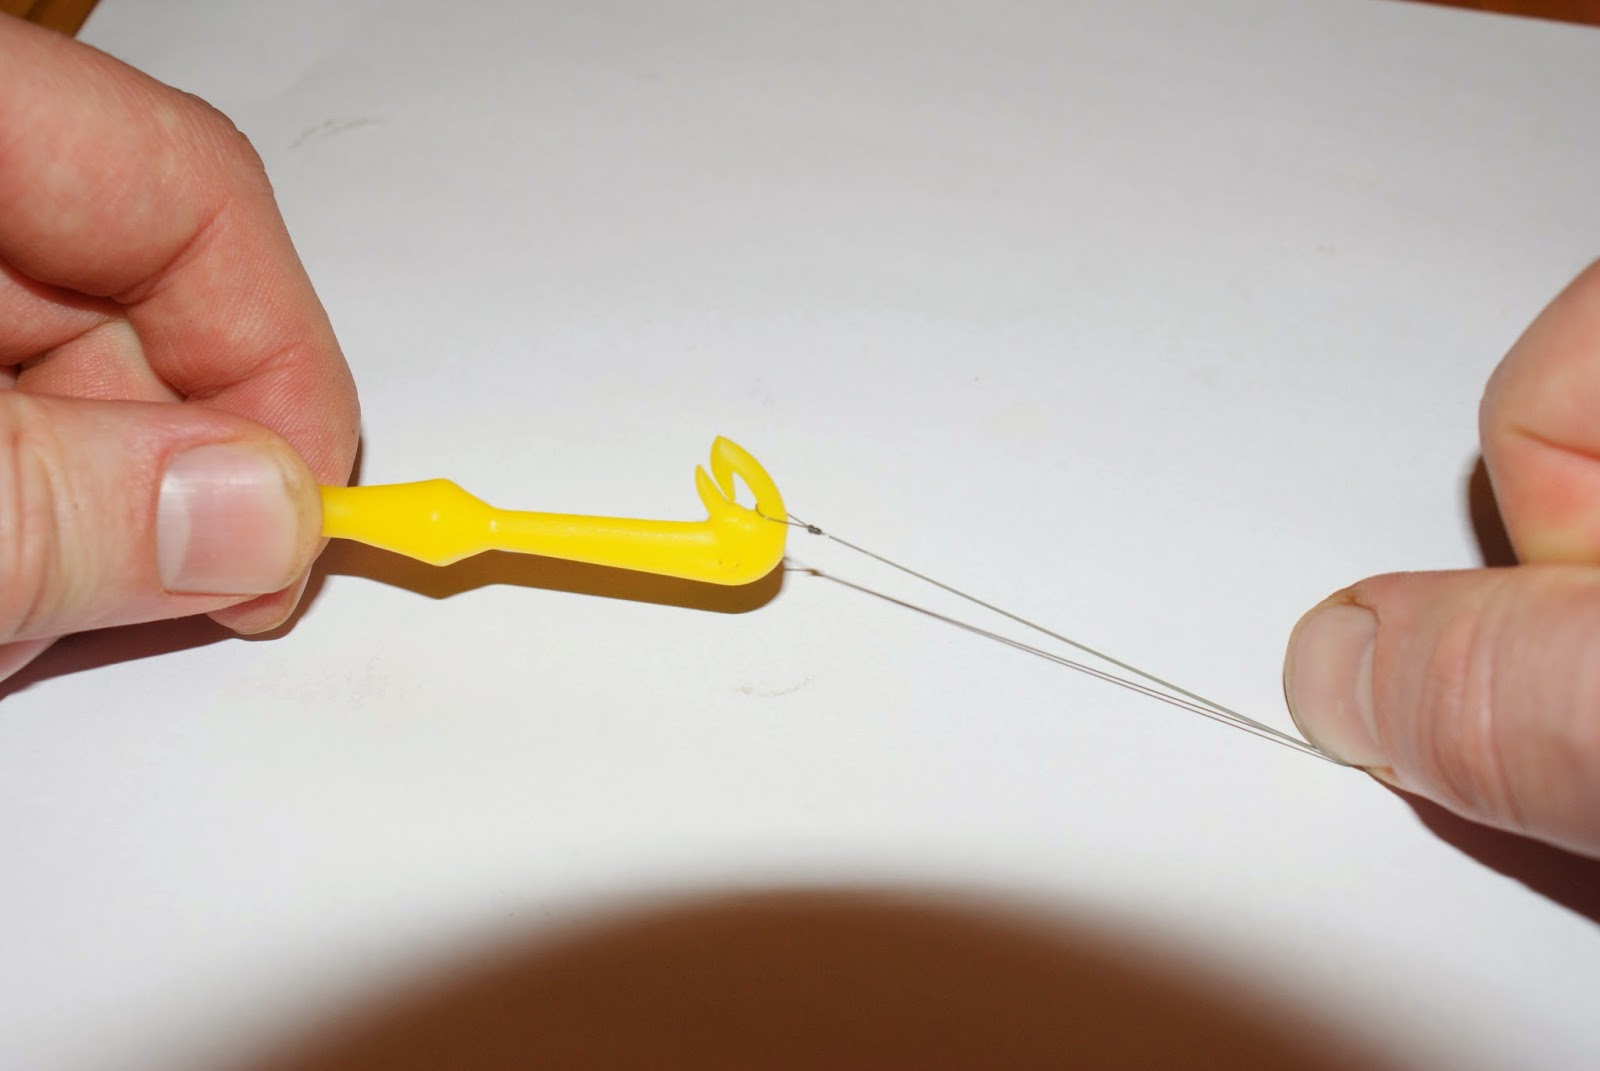
Pull tight to complete the knot.

Snip off the tag end and unhook the loop from the loop tyer.
It sounds more complicated than it actually is, but once you’ve done it once or twice to practice it becomes very quick and easy.
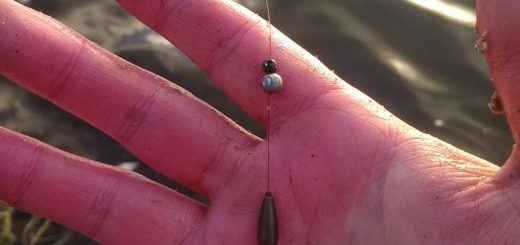
There you have it a perfect miniature loop which can be used for anything from loop to loop connections to hair rig loops.
If you have any questions about the above, or any angling questions, please click here.

Recent Comments