Knot Tying – How To Guide – The Paternoster Knot
It’s been over a week now since I’ve been out on the beach. Keeping a fairly close eye on the fishing reports everything still seems to be a bit hit and miss. The occasional hound is coming to crab (when you can get them), and rays are making infrequent appearances when the dogfish, crabs and pouting aren’t looting your bait. So I hopefully haven’t missed much! In the mean time I’ve doing some prep work and some box modification (more on that at a later date) so that my time on the beach is as efficient as possible. It comes to something when you have a dream about a Shakespeare TopBox. I don’t have one, I use to have one, but I think someone is trying to tell me something – Get your stuff together!

For the purposes of this “How To” I will be using 35lb Drennan Shock Leader
Yet another bank holiday is fast approaching and that means a potential trip is on the cards, so I need to make some rigs and rig backbones. I have been asked a few times since returning to the fishing world, what knot would I use to tie a paternoster? Or how do I tie a boom (paternoster) knot? It’s a great knot which retains quite a lot of line strength. It also has the benefit of not requiring swivels, beads or crimps, so great if you’re travelling light!
It could be used (as the name suggests) as a paternoster, but I’ve also used this on 8lb line while fly fishing as a dropper knot. Unlike other dropper knots I have been shown, this holds the pasternostered length of line at 90 degrees to the rig backbone, reducing the risk of tangles. It may also have some uses when HRFing (as long as the rig back bone is strong enough).
You can tie it like this;
1. Holding the leader or rig backbone, create a loop.

2. Wrap the tag end of line around the mainline in the loop at least 8 times. This will basically create a loop, half of which will be 2 strands of doubled line and the other half being a single strand.

3. Counting the twists in the looped line split the twisted line in the middle number (or as near the middle as possible) of the twists. In this case it is 4.

4. Taking the single strand push that up through the split in the twisted line. At this point I would say the larger the loop the longer your paternoster will be.

5. As long as a sufficient length of loop is through the middle of the twisted line, lubricate the line and gently pull the tag end and remaining rig back bone tight. The line will tighten down towards the paternoster.

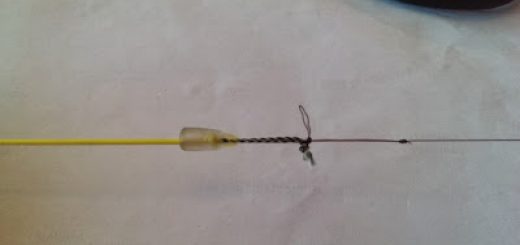
6. Re-lubricate the line and pull tag and leader ends tightly away from the knot to complete. This should leave you with a neat paternoster knot, with a tied hoop sticking out at 90 degrees to the spine of your rig/leader.

7. Cut one end of the hoop, leaving one side connected to the knot and rig backbone/leader.
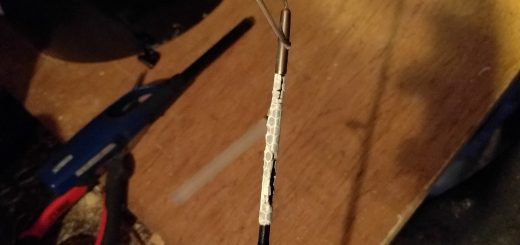
8. Ta-Da! Here you have a completed Pasternoster knot, which can be used in several different ways. You can also tie a small loop, and attach snood’s using the loop to loop method. In my case it’ll be a rig back bone for some potentially upcoming HRFing on Portland.
If you have any questions about the above please leave a comment or contact me.
Until next time, tight lines…


Love it paul keep it going pal